Social Explorer Logo

Masking Areas of Interest

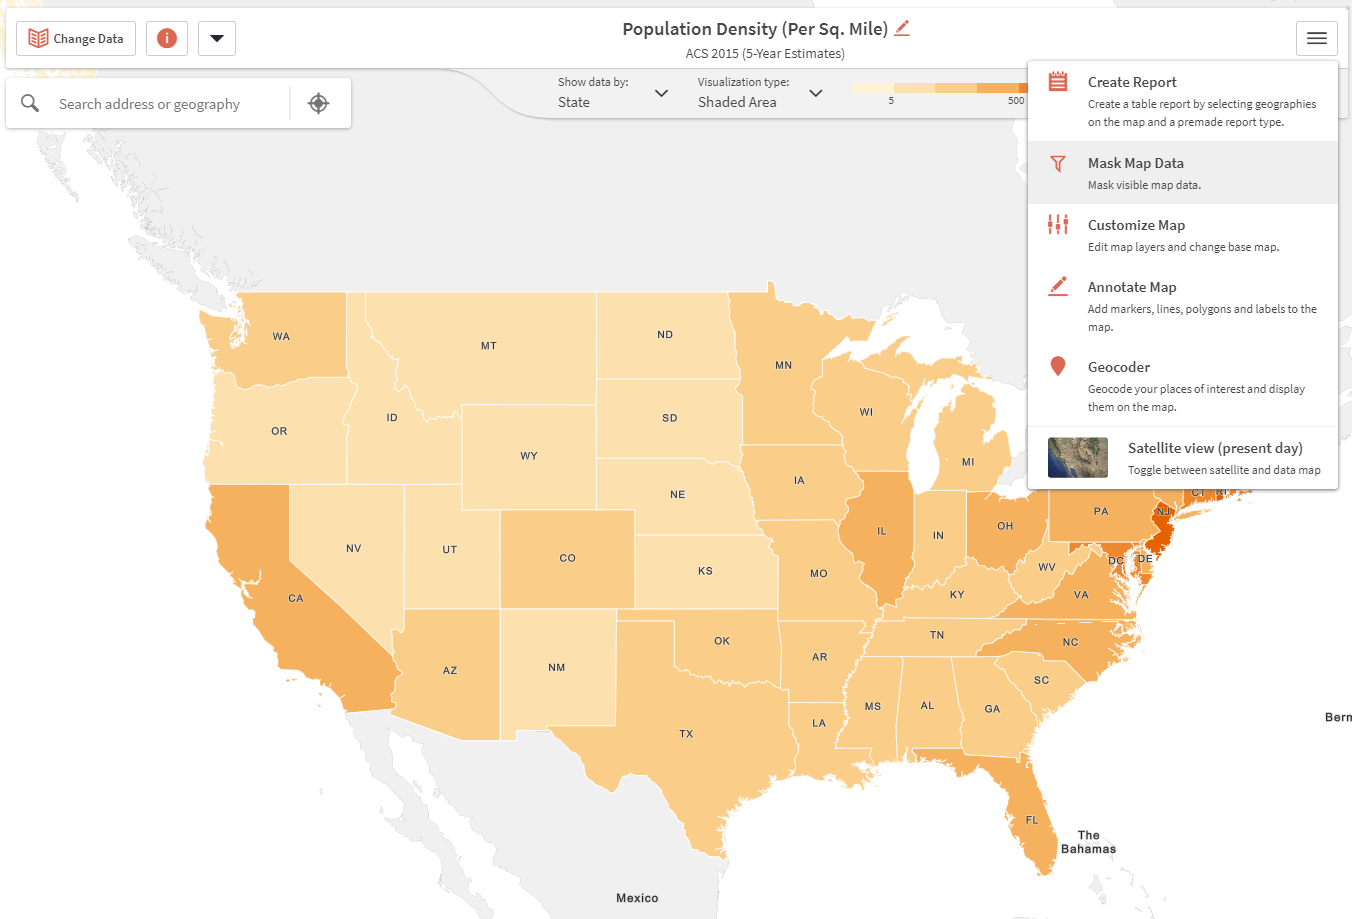
The Masking tool lets you focus on a specific area of the map by removing data from all the surrounding areas. Data will be shown only inside the masked area, the rest will be grayed out.


Creating a mask

  1. In the top right corner of the application, click the hamburger button, and select Mask Map Data.


    Enabling masking mode

  2. In the Masking tool panel, select the data layer you wish to use to create your mask. You may also choose to include nested layers. These will show up as we zoom into the map. If none of the nested geographies are checked, you will only see the masked states.


  3. There are three selection tools available in the masking tool: individual geography selection, square selection, and circular selection tool. Click the individual selection tool to click and select or deselect one geography at a time by clicking on it.


    Individual Selection Tool


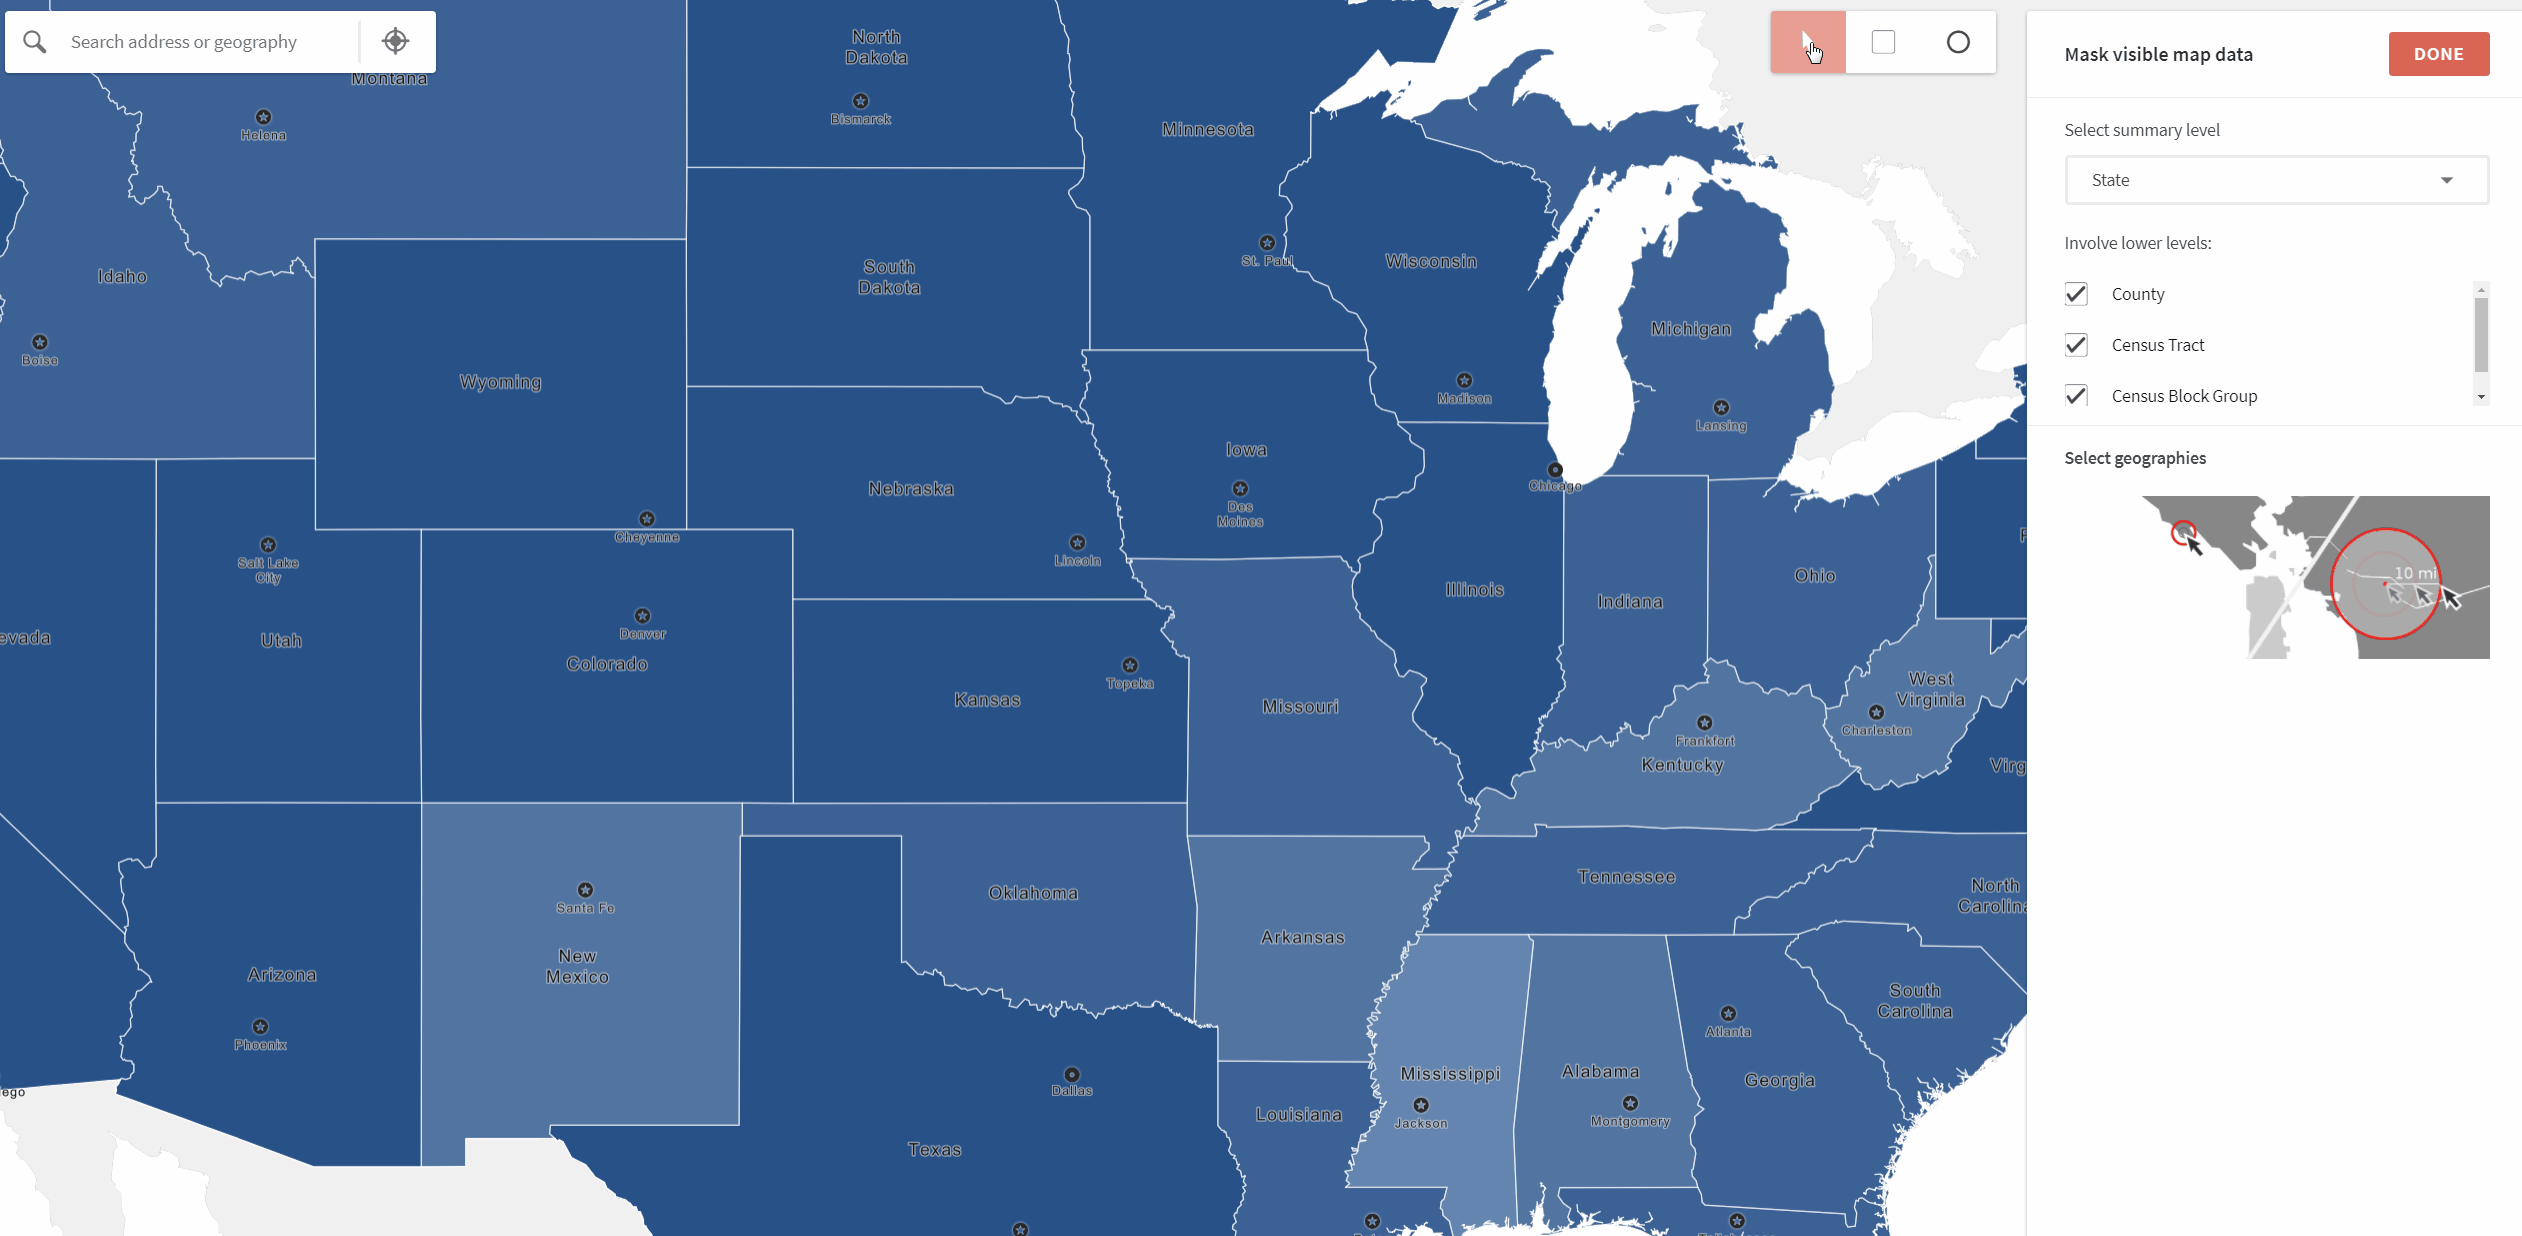
    The square and circular selection tools help you select multiple geographies within a specified distance from the center point of the selection tool. Select the Square or Circle tool, click on the starting point and drag to include the geographies you are interested in.


    Square and Circle Selection Tool

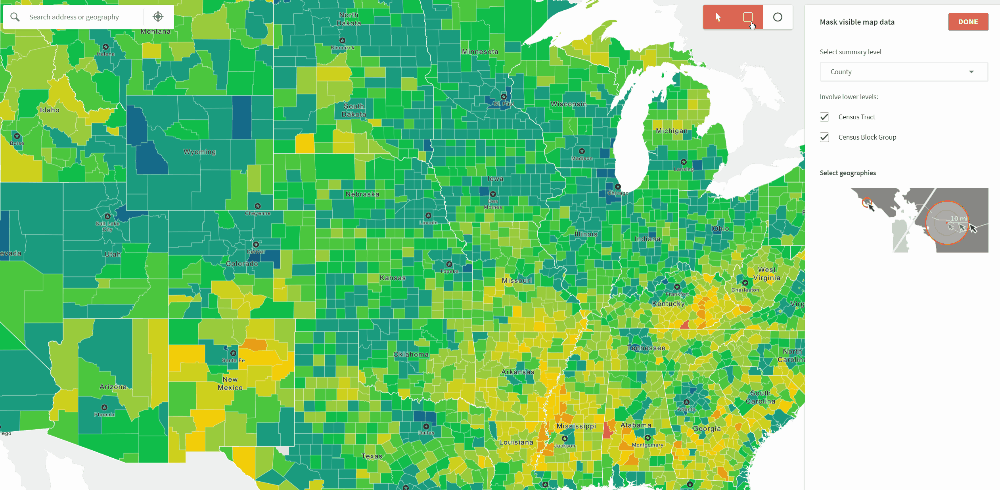
    Note: the masked area will not be a perfect square or a circle. Instead, all the geographies touched by the square or circle will be selected for masking in their entirety.

  4.  

  5. When finished, click Done.


To remove a mask, click the X symbol on the mask button in the upper left corner of the application.

Disabling mask